All right, let’s finish this beast! Part 1 covered painting the majority of the stonework; now we’re going to carry on with what’s left.
Step Four:
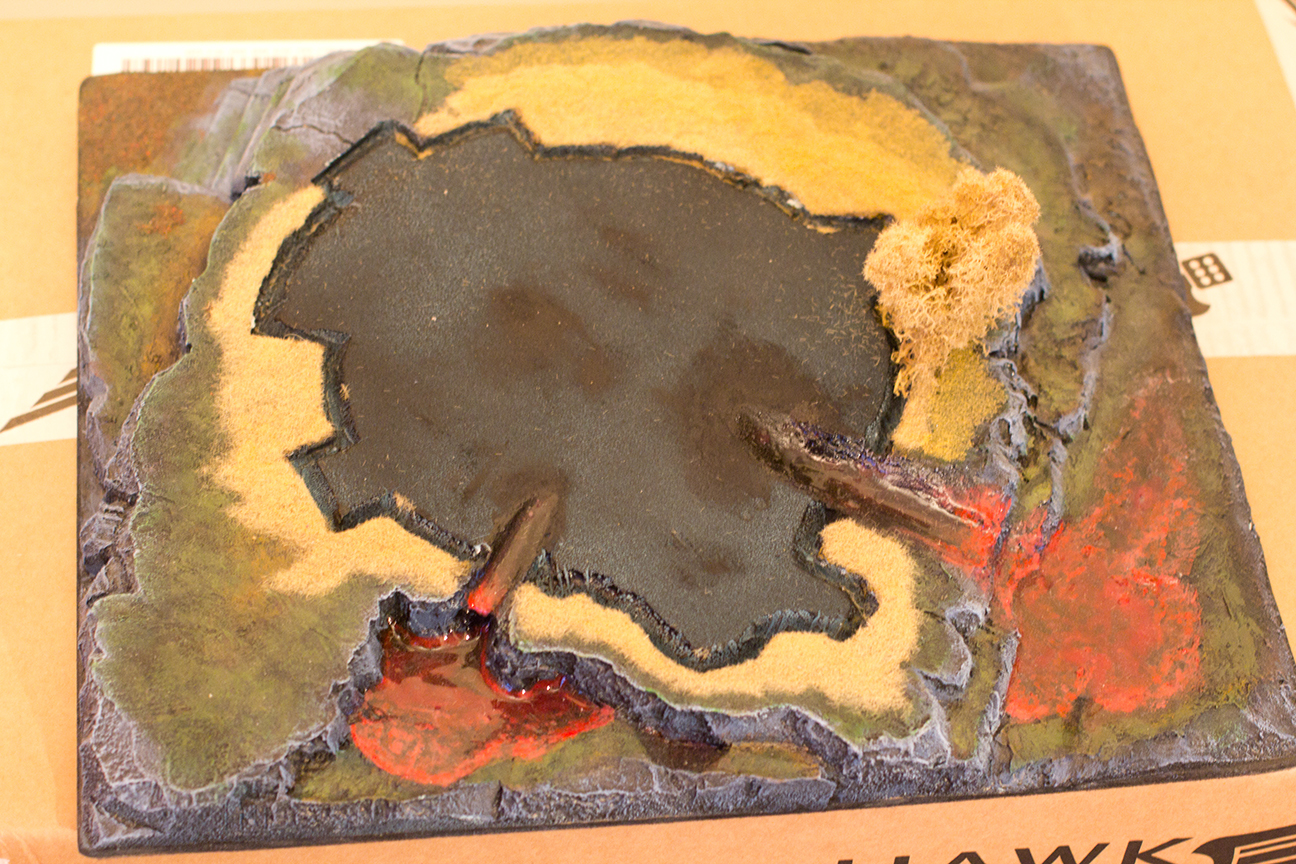
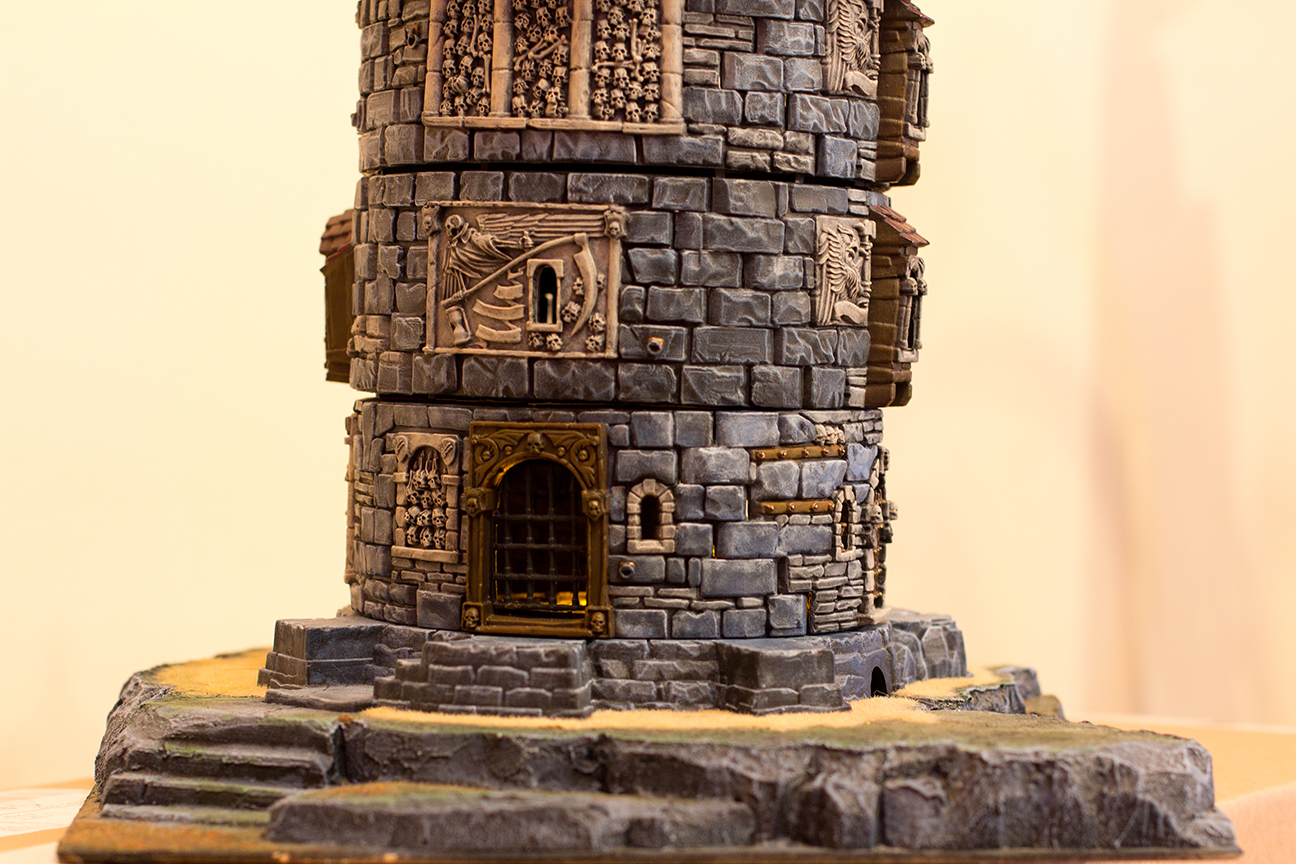
I got bored at this point and decided to make a base to sit the tower on. This took a little planning. I wanted a base that was large enough to stand a few minis on, but not so massive that it would be a problem to store and transport. Ultimately I cut a sheet of MDF to approximately 45x25mm and glued 25mm styrofoam to it.
The next stage was to place the model’s base in the centre and draw around it, then carve out about 3mm of depth for the base to nestle snugly into the styrofoam. This makes the setting look a little more natural, and prevents the model sliding around if a stray arm knocks it during play.
Once I was happy with the outline, I took a craft knife to the edges and began carving. This was a somewhat haphazard process, as I wanted the rock to seem authentic. At some stages I glued additional pieces of styrofoam to the MDF to create staggered layers.
To protect it from aerosol propellants and make it tough enough for play, I liberally smothered it in readymixed all-purpose filler and gave that a day to set.
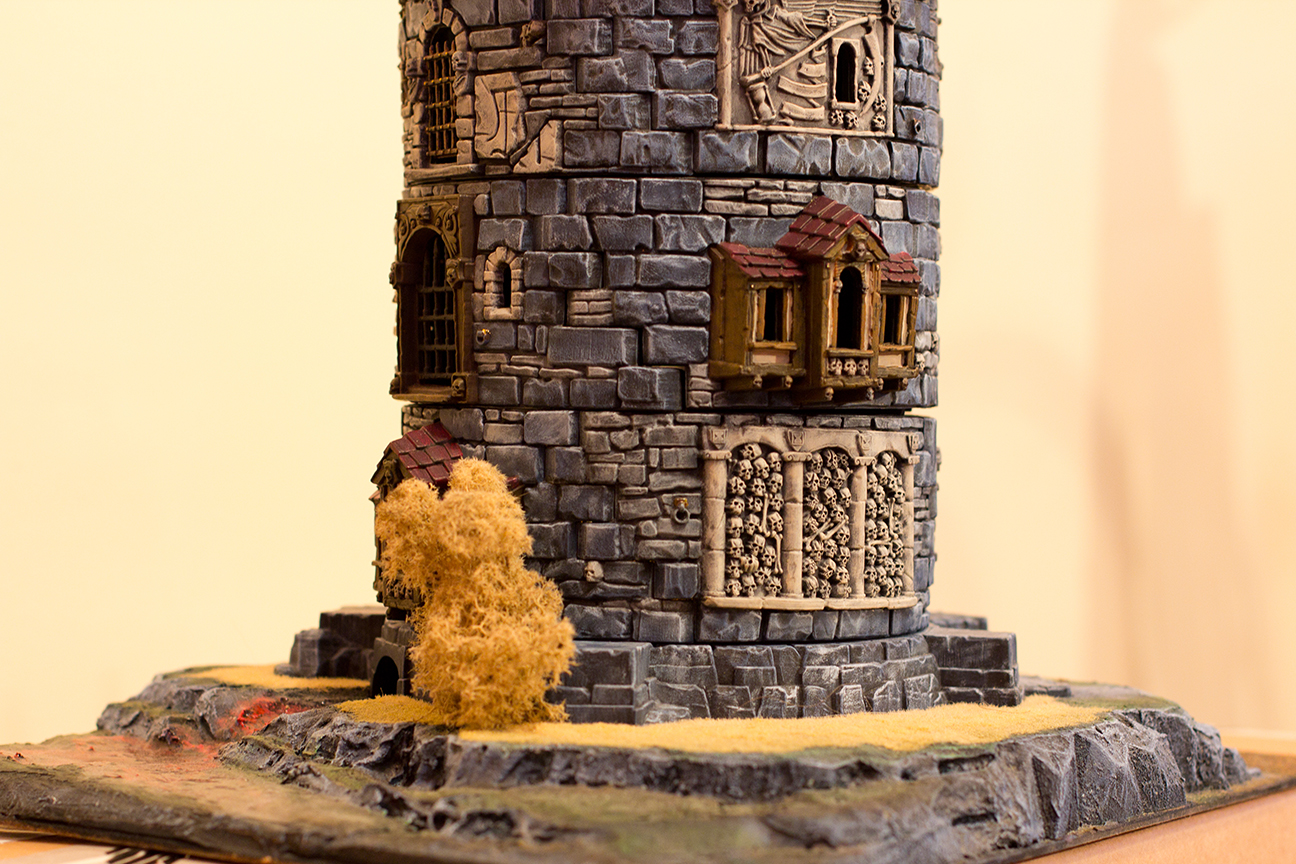
Then onto the Chaos Black primer! The edges of the base were drybrushed slate to match the model, and the top was drybrushed with a variety of browns and greens to create a mud and grass effect. I wanted the ground to become increasingly dead as it neared the Tor, and finished the area nearest the outline with dead grass sprinkles and a nice dead tree. After that all it needed was layer after layer of Woodland Scenics Realistic Water with a splash of red to make it look like rivers of blood were gushing out of the cursed building! D’aww!
To make the dead tree, I shoved a toothpick in at the angle I wanted, snipped the top off to remove the point, and glued it into place. Then I added a clump of tan-coloured lichen, glueing it to the toothpick. Easy peasy. A few blobs of Scorched Brown to the toothpick gave it more of a bark colour.
Step Five:
I then got it into my head that what I really needed in here was a flickering firelight. The most arduous part was drilling through the centre of the comet in the base of the Tor – the plastic was at its thickest there. And not being remotely capable at soldering I decided to cheat and picked up a box of dirt cheap LED tealights. Disassembling one carefully, I glued the LED into the hole I’d drilled (carefully pre-measuring to make sure it was going to be a snug fit), then cut the “flame” housing and glued that in place over the LED to soften the light from it.

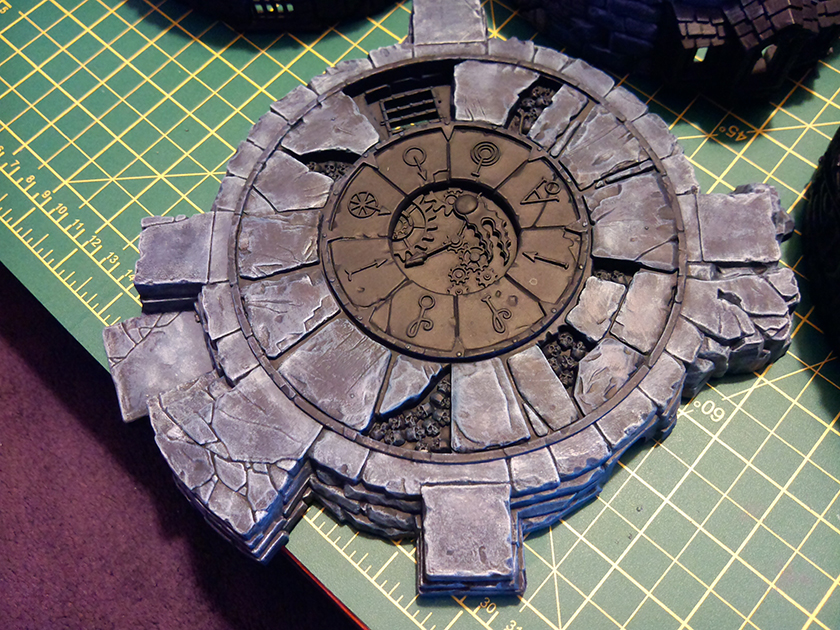
Step Six:
The top is painted using largely identical techniques to the base: Slate for most of the brickwork, grey for the accents, then washes of colour for the major flagstones and drybrushing lighter versions of the top. Note that the centrepiece is missing from this photo so that you can see how slack I get when I know something’s going to get covered.

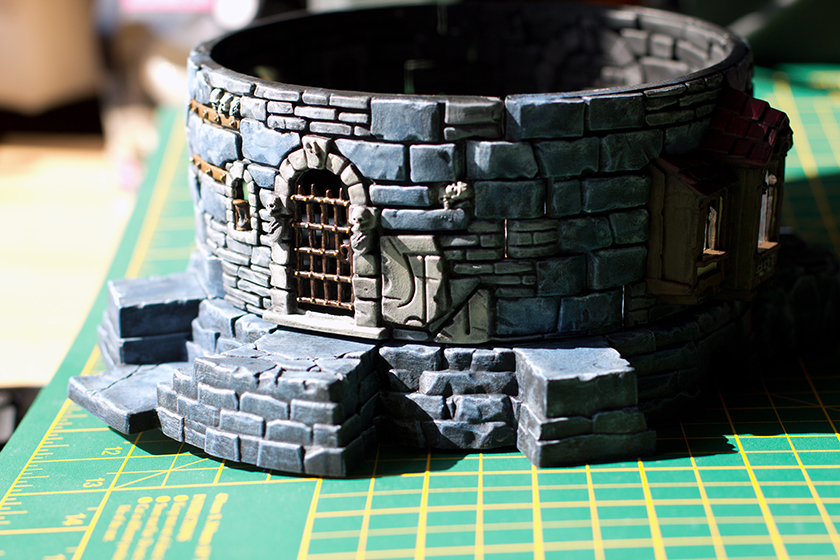
Witchfate Tor, Completed:
As you can see, the levels really don’t fit together very well. I haven’t forced them – they can be a little more snug than this, but I took it gently for the photos. I’m considering taking out the floors of each storey and pinning the tower together. This’ll make it less portable, but it’ll be sturdier and look better.


Let me know what you think!